Before you start, check the Uber Eats photo requirements (size, shape and what gets rejected), then follow these tips.
Use daylight, not the kitchen lights
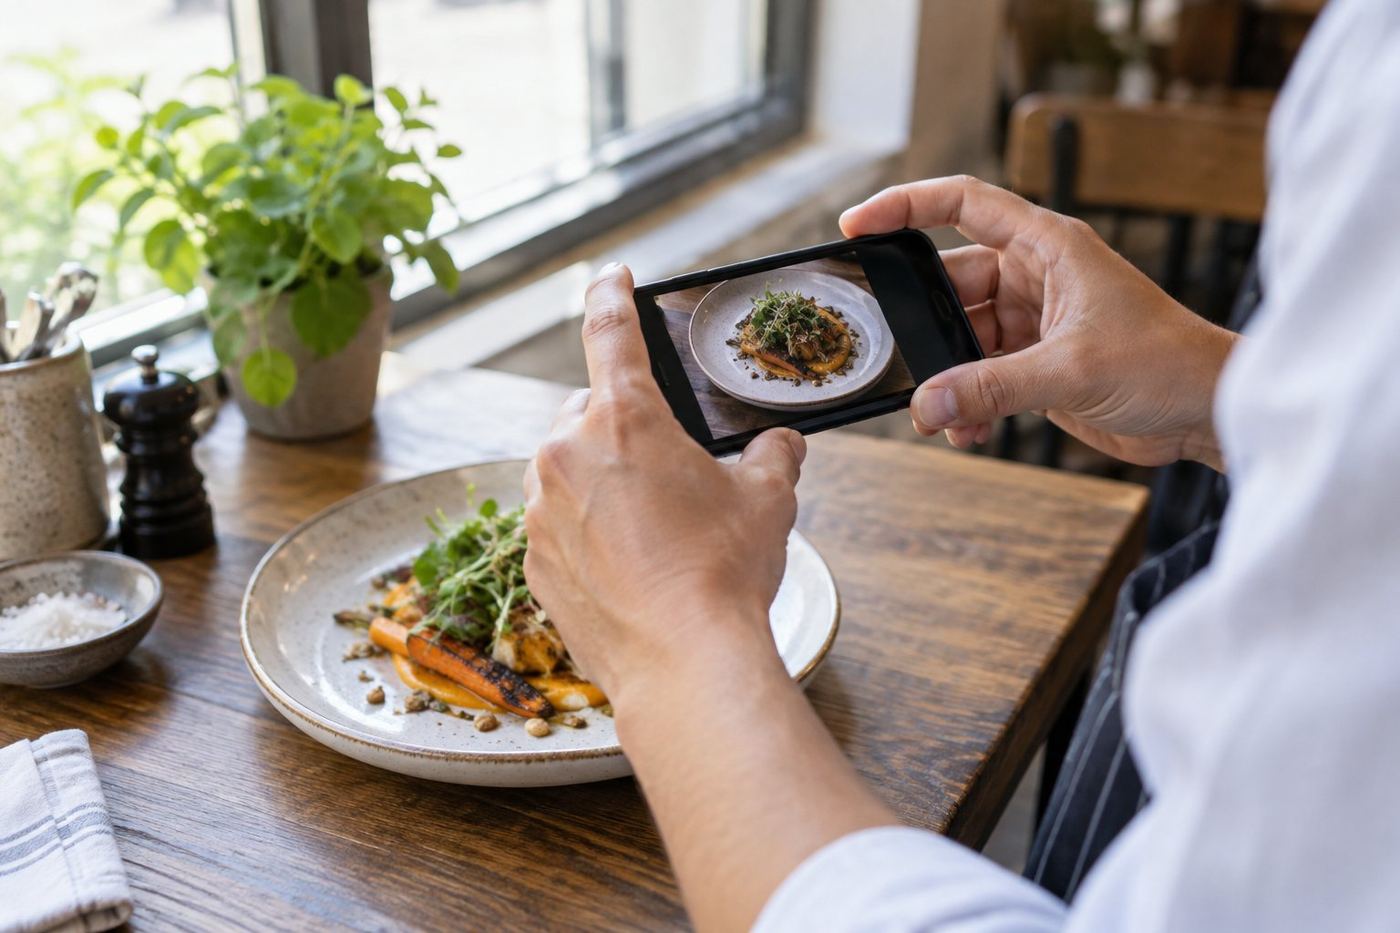
Kitchen lights are often yellow or green and make food look flat. Take your photos near a window during the day, with the light coming from the side. Turn the flash off: it makes food shiny and harsh.
Pick a simple background
A plain table, a wooden board or a light coloured surface works best. Move away bottles, cloths, receipts and anything else that isn't the dish. The food should be the only thing people look at.
Find the right angle for each dish
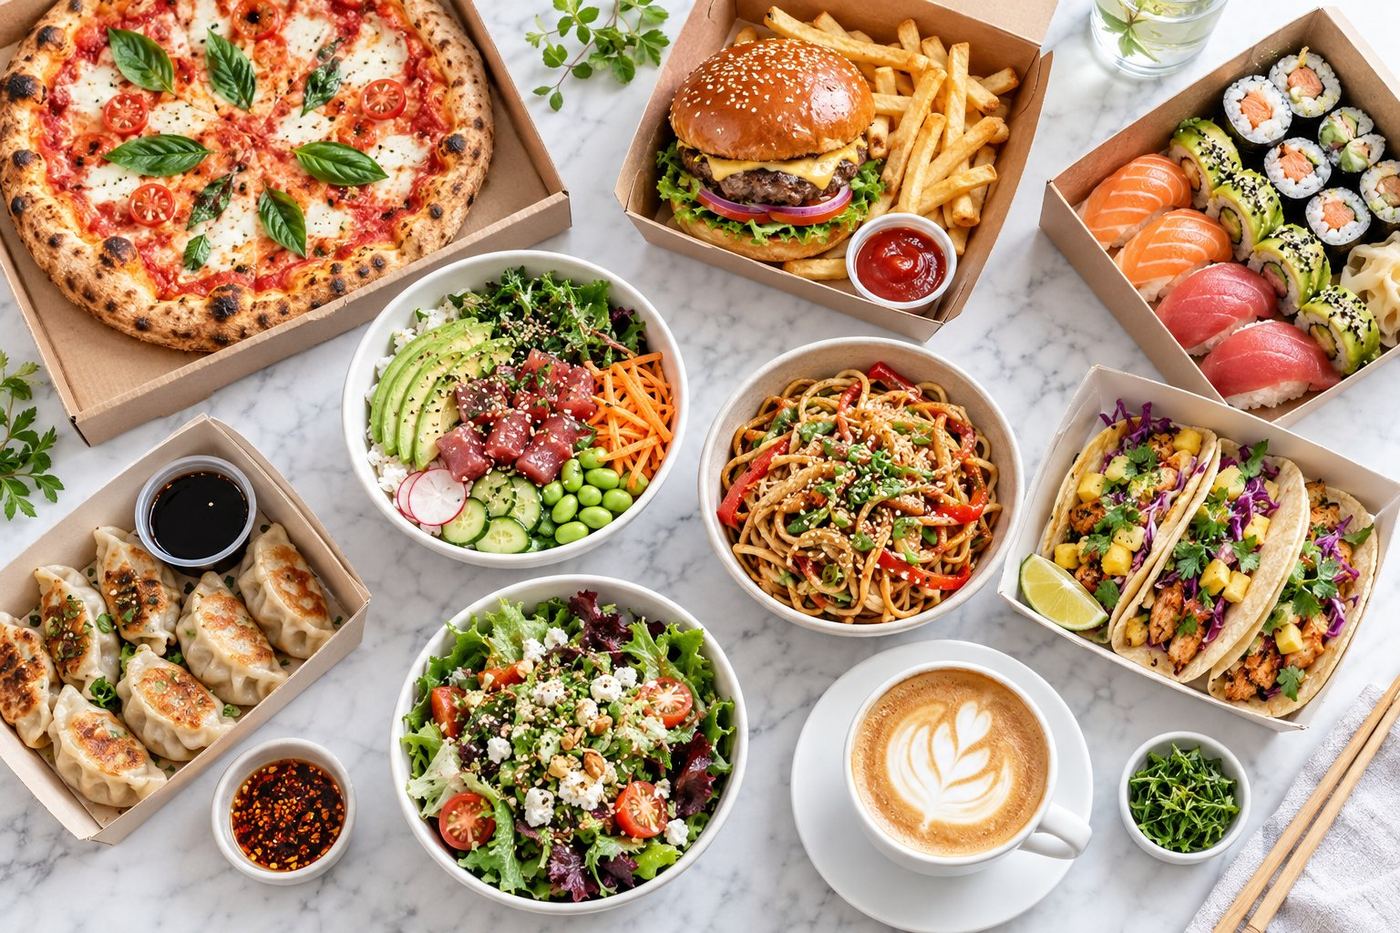
- From above for flat dishes: pizza, bowls, platters, salads.
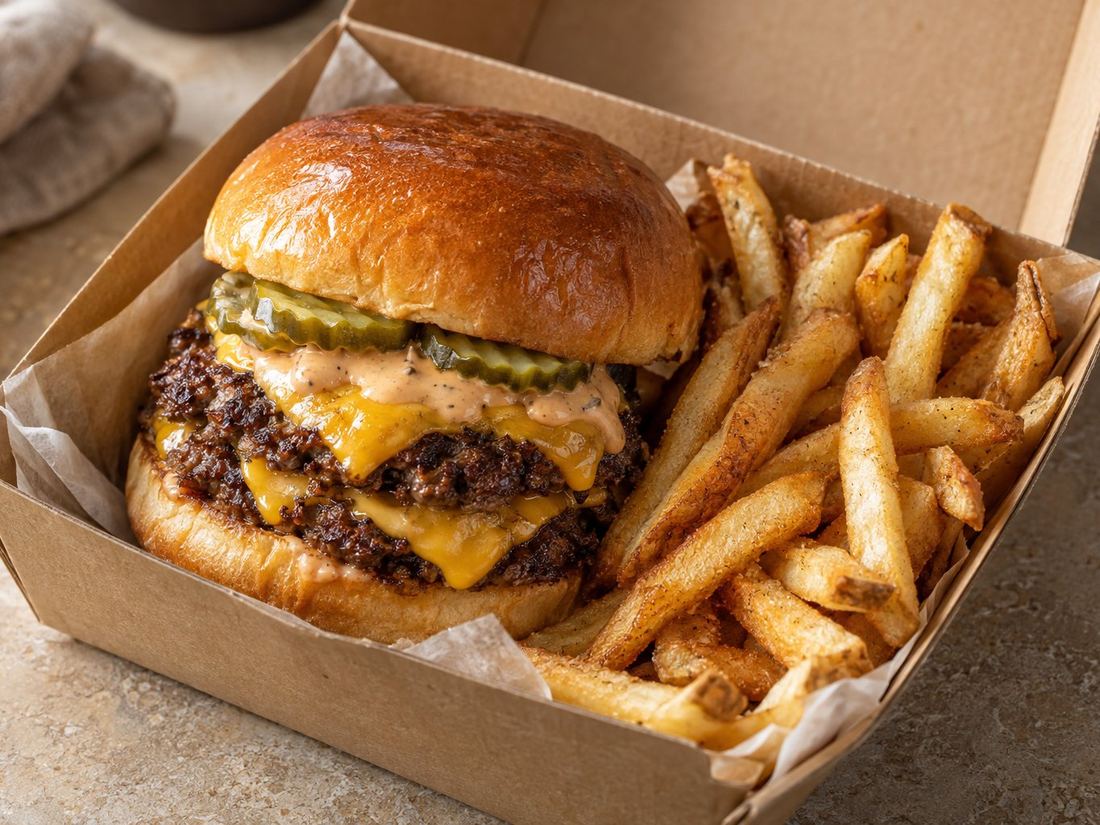
- From a 45 degree angle for most plates and takeaway boxes.
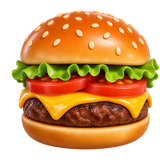
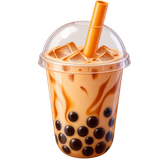
- From the side for tall food: burgers, layered cakes, drinks.
Fill the frame, and leave a little space
Get close so the dish fills most of the photo, with a small margin around it. Uber Eats crops photos into different shapes, so keep the food in the centre.
Show the real portion
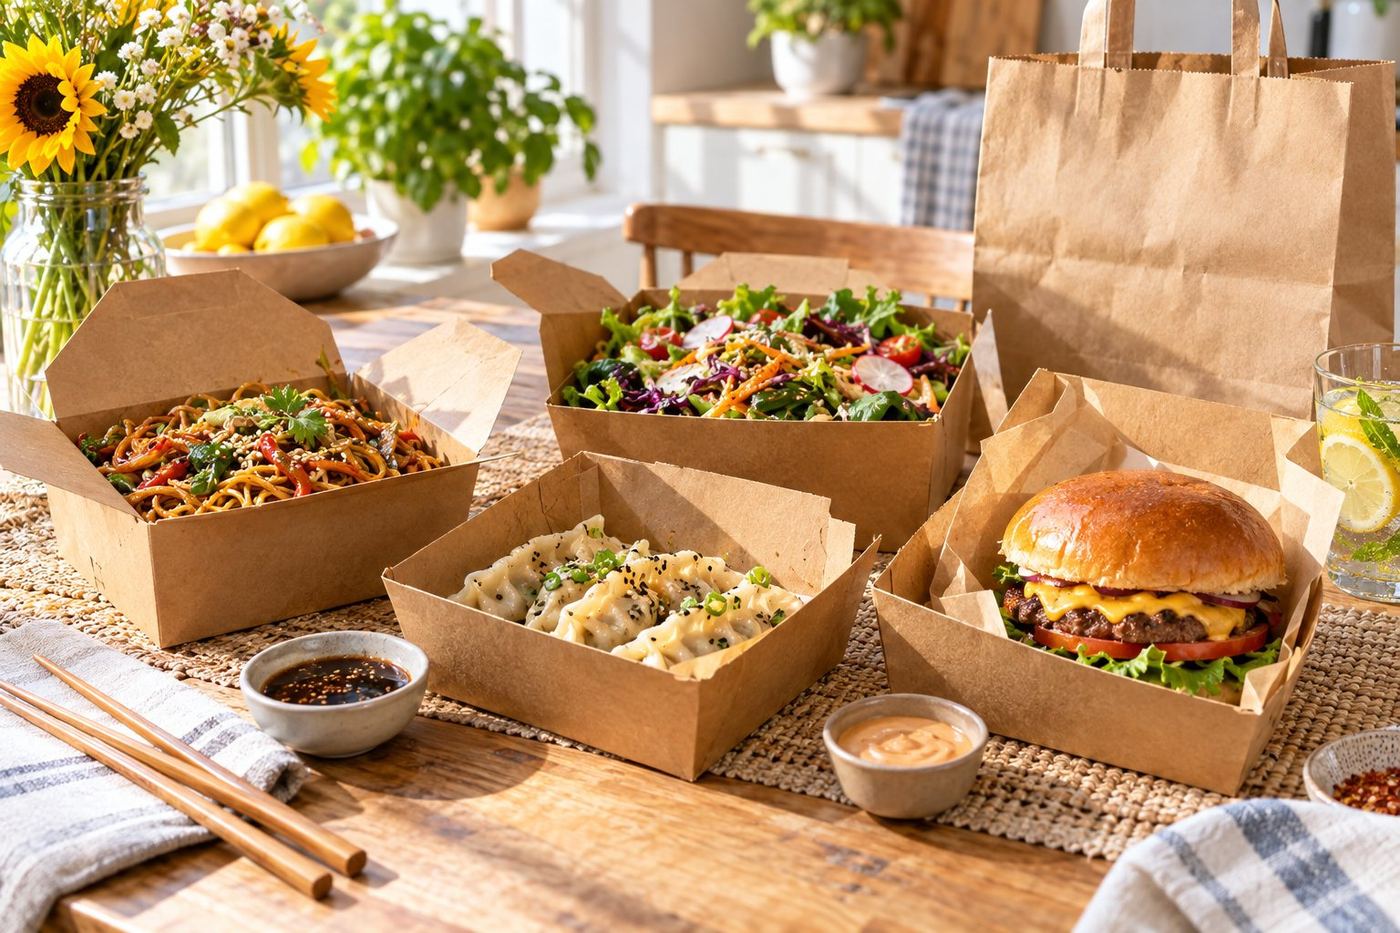
Serve the dish exactly as customers receive it, in your usual packaging or plate. Photos that look bigger or fancier than the real thing lead to disappointed customers.
Keep a consistent style
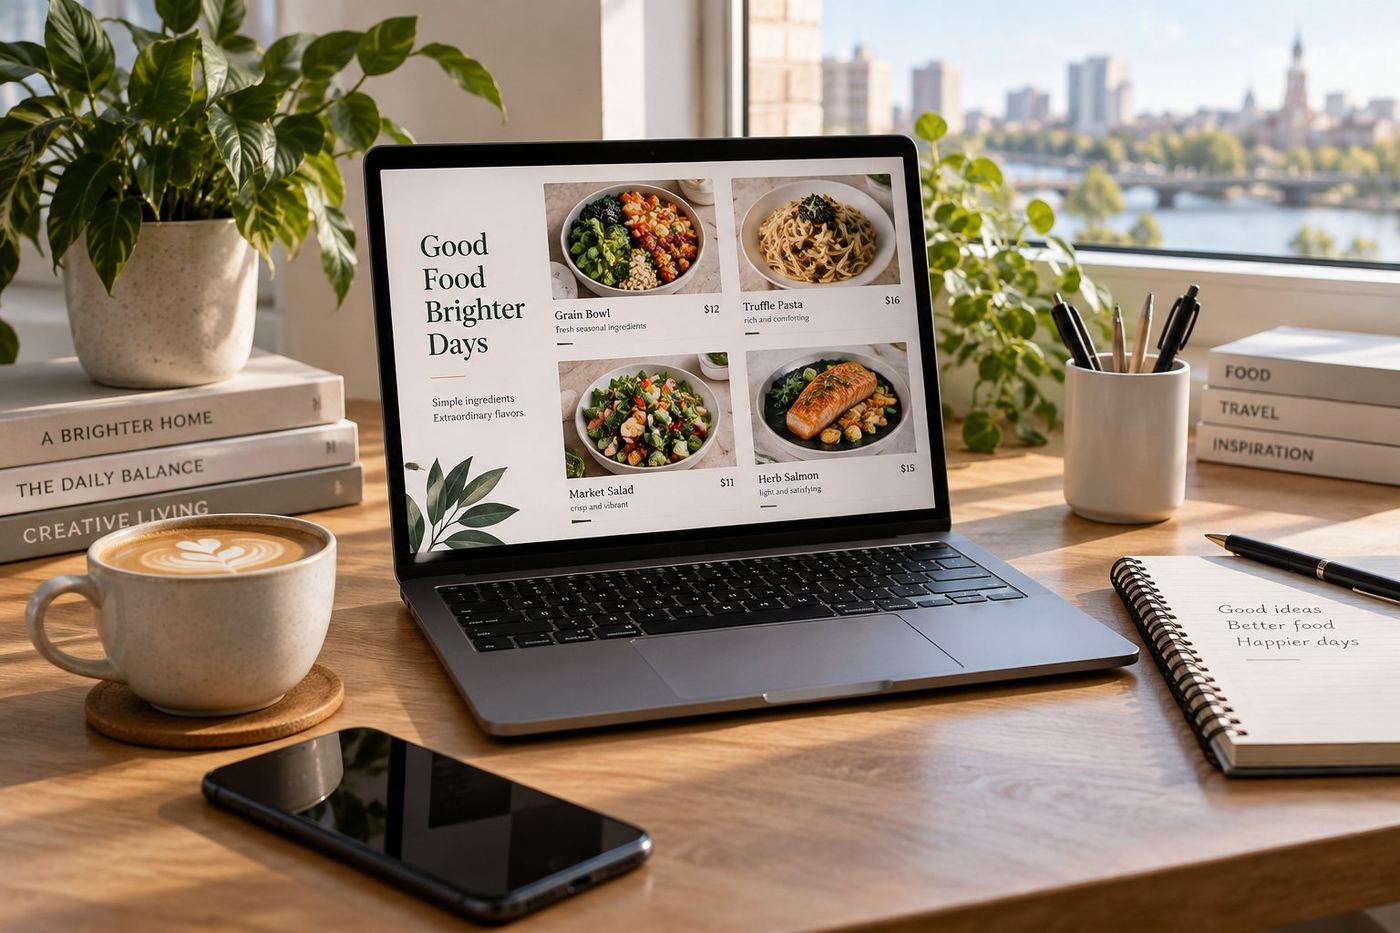
Use the same background and angle for all your photos. A menu where every photo looks alike feels professional, even if each photo is simple.
Edit lightly
Your phone's built in editor is enough: a little more brightness, a little warmth, straighten the photo. Don't change the colours of the food or use heavy filters.
Start with your top ten
You don't need to photograph everything in one day. Your ten best sellers make the biggest difference, so start there.
Already have photos that look dark or messy? We enhance photos of your real dishes: better light, a clean background and delivered at Uber's recommended 2880 × 2304 size, without changing the food. See examples.